2.3 Updating From a Previous Version
There are two ways to update to the latest version of SpamSieve:
Automatic Updating
- Launch your old version of SpamSieve.
- Normally, SpamSieve will automatically check for updates and detect
that a new version is available. If you have turned that feature off or
don’t want to wait for the automatic check:
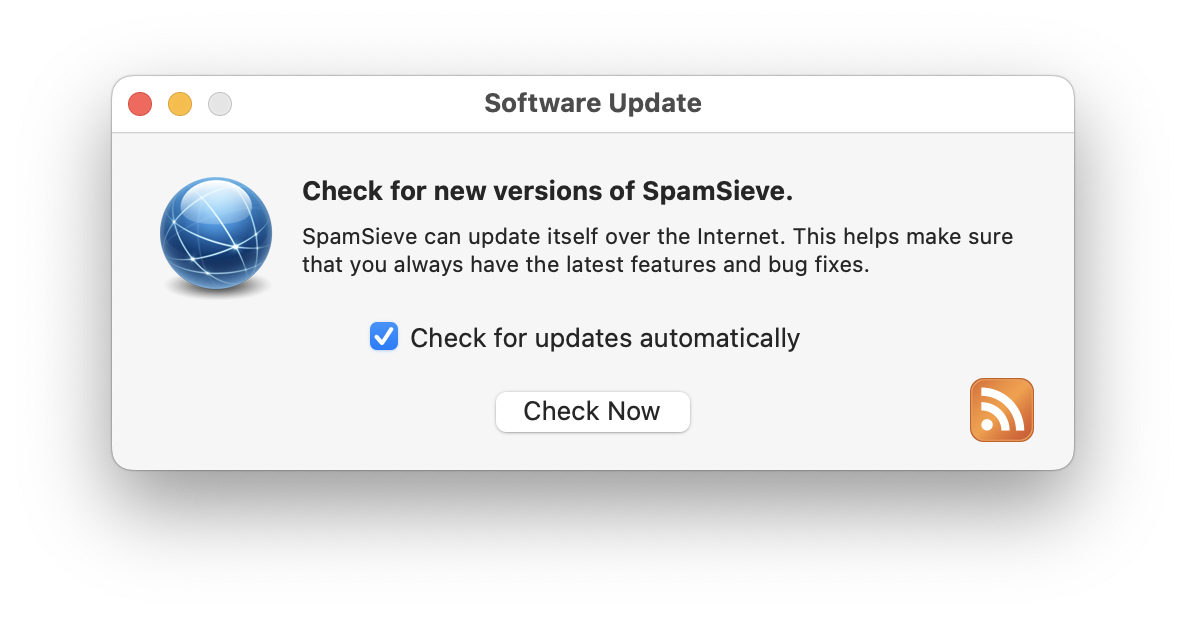
- Choose Software Update… from the SpamSieve menu. If SpamSieve’s Dock icon is hidden, you can access the Software Update… command via the SpamSieve menu bar icon.
- Click the Check Now button.
- Click the Download & Install button and follow the on-screen instructions.
- You may be asked for an administrator password to ensure that incorrect file permissions on your Mac do not prevent the update from completing, leaving your Mac in an inconsistent state. The username and password for the automatic update are the ones for installers and logging into your Mac. They’re not related to SpamSieve. If you don’t know your password, you can reset it or update SpamSieve by following the “Manual Updating” instructions below.
Manual Updating
Go to the SpamSieve Web site and click the Download (Free Trial) button.
Quit SpamSieve and your mail program.
Replace the old SpamSieve application file with the new one. That is, if SpamSieve is installed in the Applications folder, drag the new SpamSieve application icon into the Applications folder and click Replace when the Finder asks if you want to overwrite the old version. (If macOS won’t launch the app because it says that it’s damaged, please see the Download Fixer page.)
Note: If you get an error saying that the file is locked or you do not have sufficient privileges, drag the old SpamSieve to the trash and empty it, and then drag the new one into the Applications folder.
Launch SpamSieve and your mail program.
Updating From SpamSieve 2 to SpamSieve 3
First, download and install the SpamSieve 3 app, as described above.
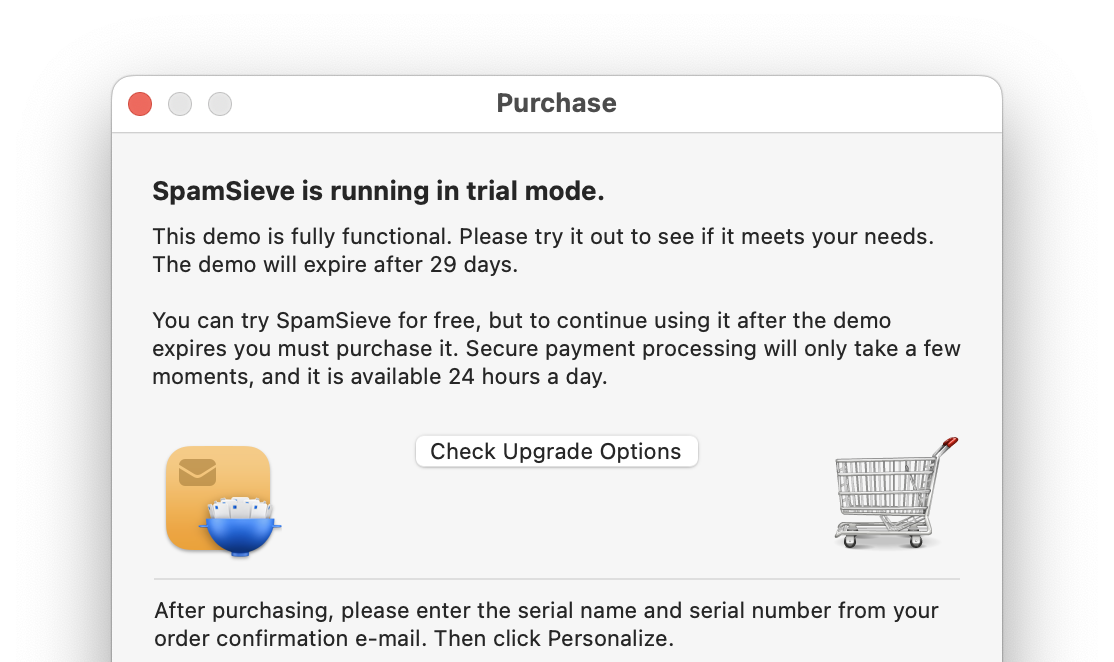
If you had purchased SpamSieve 2, SpamSieve 3 will start out in trial mode, and you can click the Check Upgrade Options button in the Purchase window to take you to the store and automatically apply the upgrade discount.
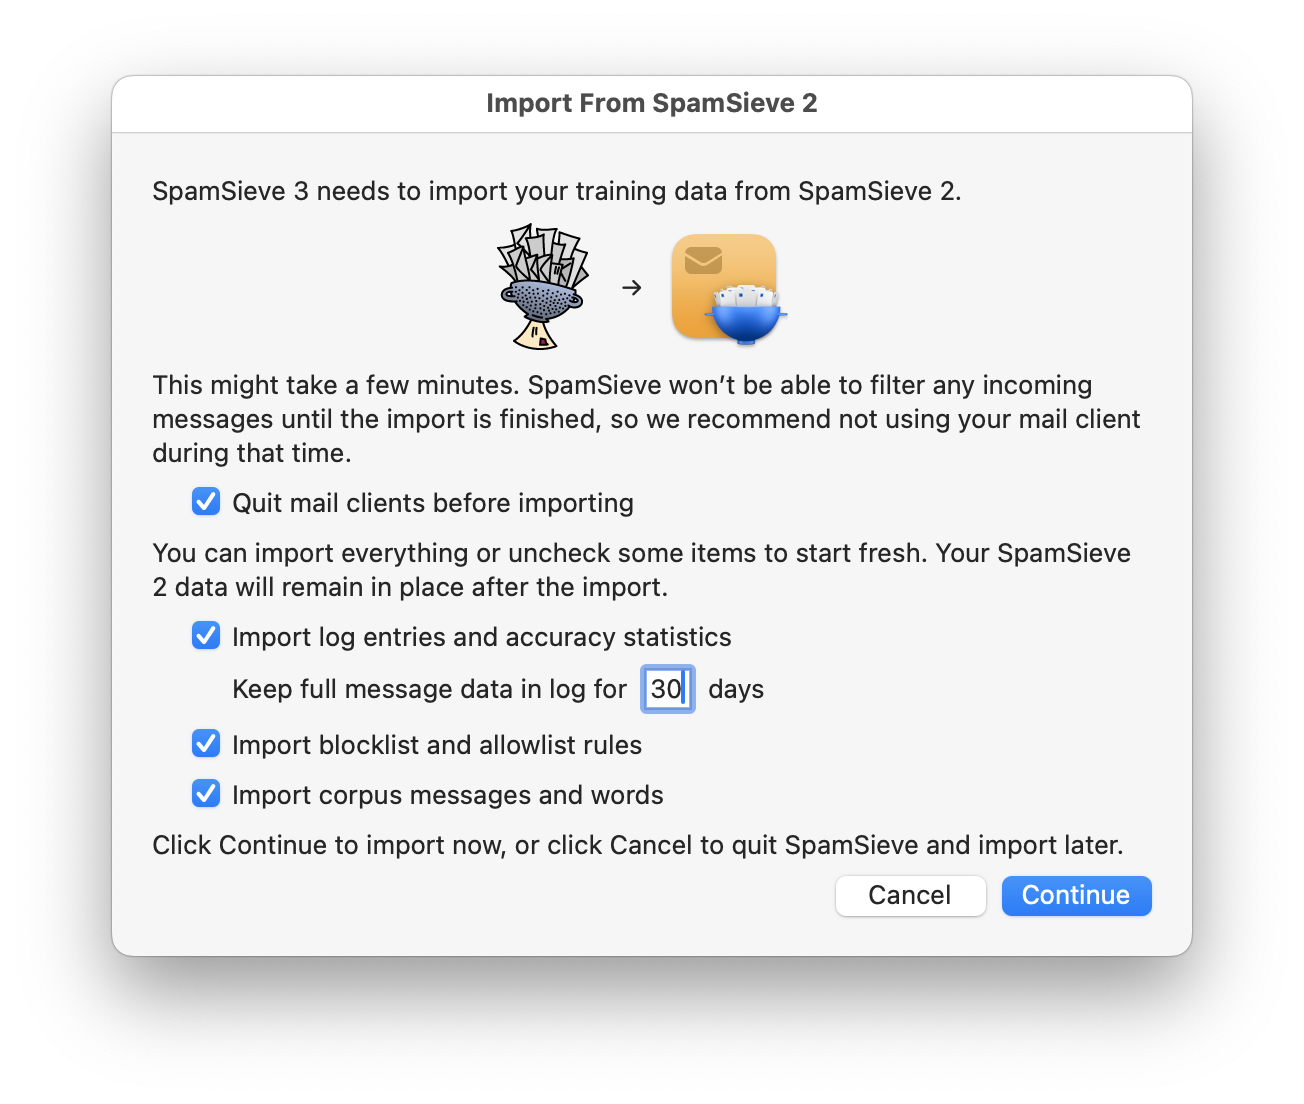
The first time you launch SpamSieve 3, it will offer to import all your SpamSieve 2 data:
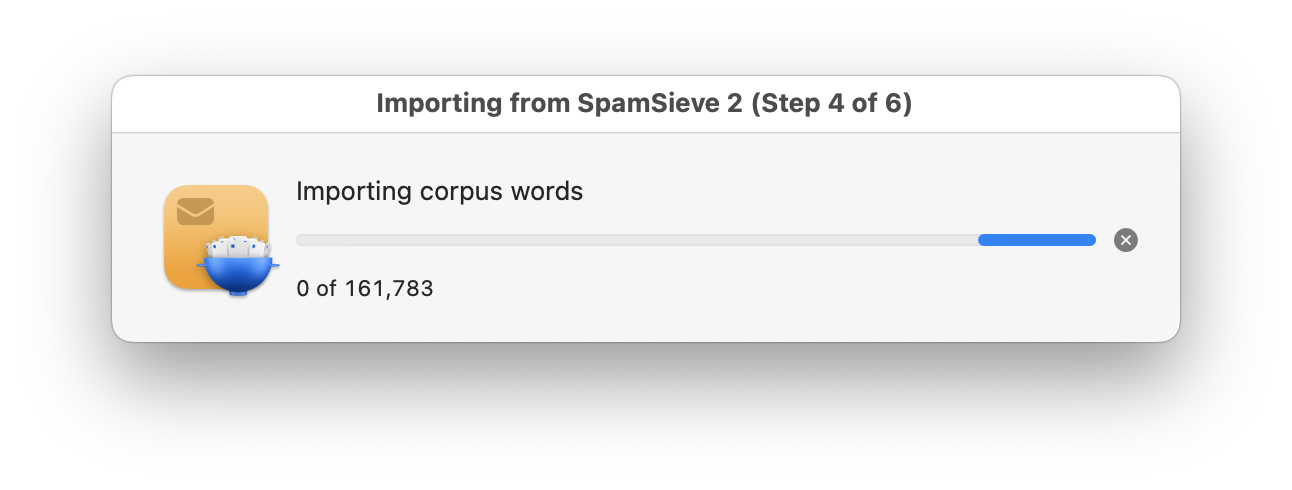
This may take a few minutes depending on how many messages you had trained and filtered:
Repeated Update Prompts
If SpamSieve keeps telling you that a new version is available, even after you’ve updated, you may still have the old version somewhere on your Mac. There should only be one copy of SpamSieve installed, and it should be stored directly in your Applications folder. If you see a window saying that you need to update SpamSieve, you can Command-click on the SpamSieve icon in the Dock. This will reveal the location of the SpamSieve.app file in the Finder so that you can see where the old version is and delete it (after quitting SpamSieve).