3.5 Setting Up MailMate
MailMate has built-in support for SpamSieve. Make sure that you are using MailMate 1.1.2 or later.
In MailMate’s Security settings, make sure that Enable is checked next to SpamSieve and that Enable for messages in is set to Inbox.
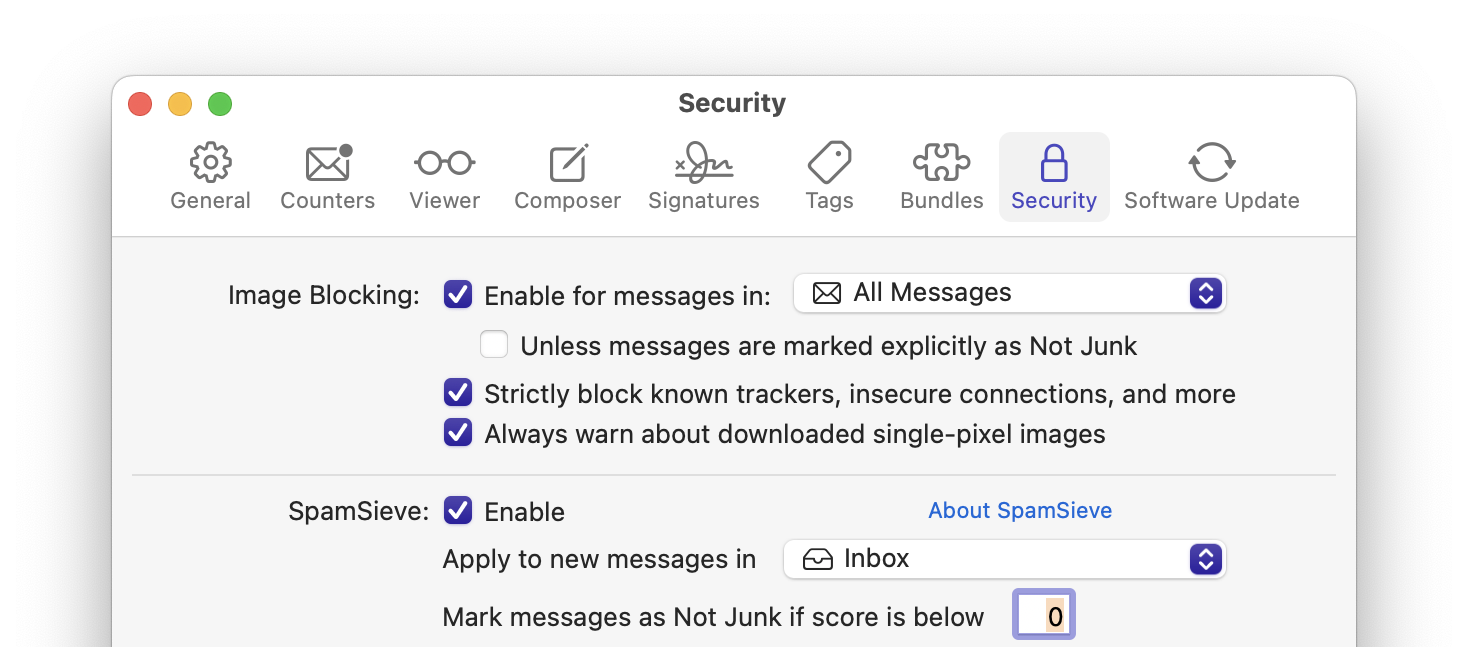
The Mark messages as Not Junk if score is below setting does not affect SpamSieve or its filtering. Rather, if SpamSieve thinks a message is less spammy than the score that you enter, MailMate will tell the mail server that it’s not junk, and it will also decide that it’s safe to display any remote images that the message references. If you would like to see remote images for all the messages that SpamSieve thinks are good, you should set this to 50.
Now it is time to train SpamSieve:
To train SpamSieve with spam messages, select the messages and click the Move to Junk button, or choose Message ‣ Junk State ‣ Junk from the menu bar, or move the message to the Junk mailbox.

To train SpamSieve with good messages, select the messages and click the Move Out of Junk button, or choose Message ‣ Junk State ‣ Not Junk from the menu bar, or move the message out of the Junk mailbox.

The Do an Initial Training section explains which messages (and how many of them) you should train.
SpamSieve will process new mail automatically. The SpamSieve Score column shows how spammy SpamSieve thought each message was, on a scale from 0 to 100 (with 50 and above meaning spam). (The Spam Score column shows the spam level reported by the server junk filter, if any.)
If you ever need to manually ask SpamSieve to sift through a mix of spam and good messages, choose Junk State ‣ SpamSieve ‣ Evaluate from the Message menu. (The Recompute Score command is similar except that it only updates the SpamSieve Score column in MailMate’s display. It does not move spam messages to the Junk mailbox.)
Note: On macOS 10.14 or later, the system will prompt you in order to let MailMate control SpamSieve, and you should allow this. For more information, see the Security & Privacy Access section.
If you need to troubleshoot SpamSieve and MailMate, see the Checking the MailMate Setup section.
Filtering Other Mailboxes
The above setup will automatically filter new messages that arrive in the inbox. If you have new messages in other mailboxes, e.g. due to server filtering rules or SaneBox, you can:
- Choose Mailbox ‣ New Smart Mailbox….
- Click the + button and add each additional mailbox that you would like to be filtered.
- In the Settings ‣ Security window, set Enable for messages in to the smart mailbox that you just created.