4.2.10 Burn…
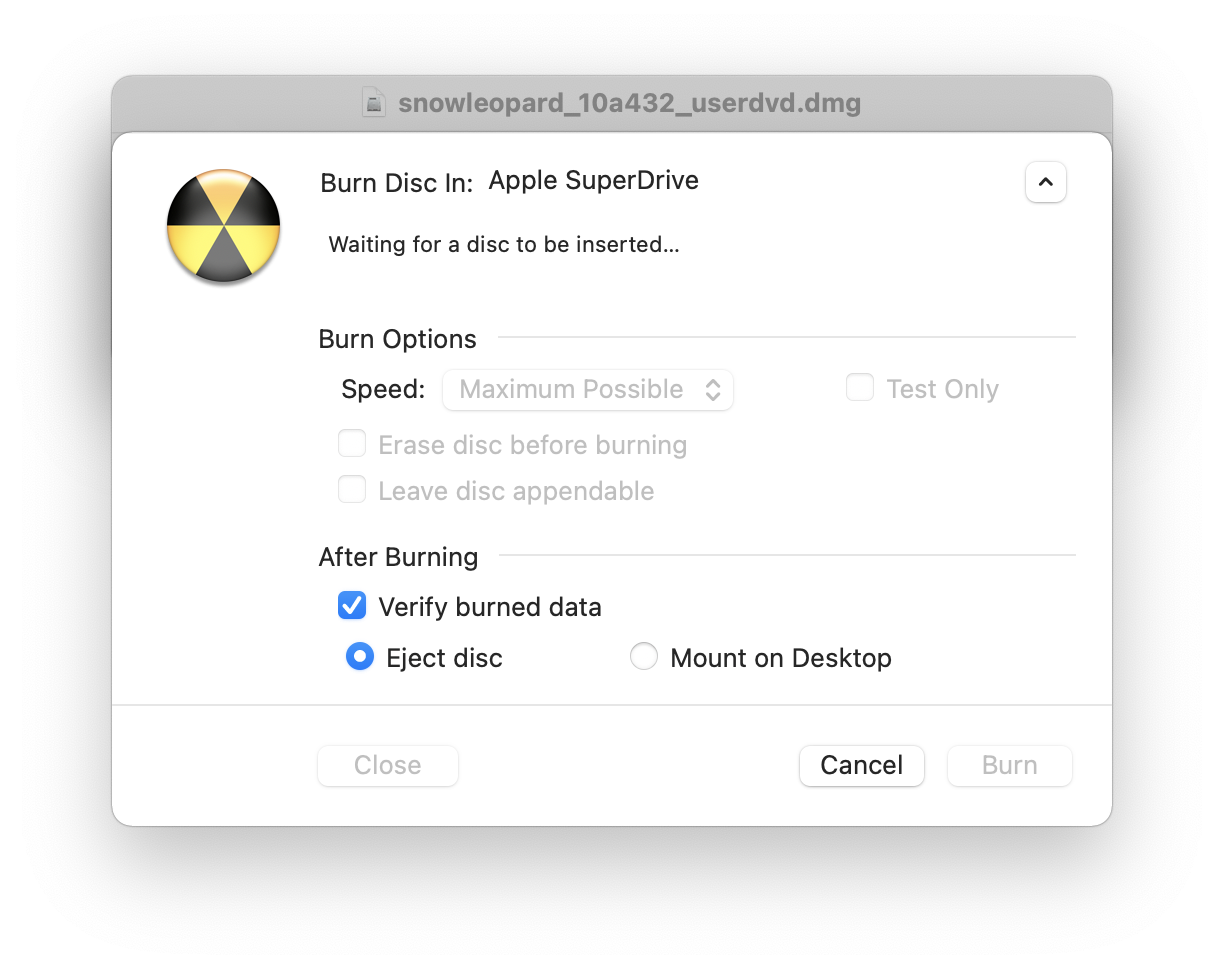
This command lets you burn files and folders to CD, DVD, or Blu-ray. This requires an internal or external drive that supports macOS disc burning. You can continue to use DropDMG to create other disk images or archives while a disc is burning, and if you have multiple optical drives you can even burn more than one disc at a time.

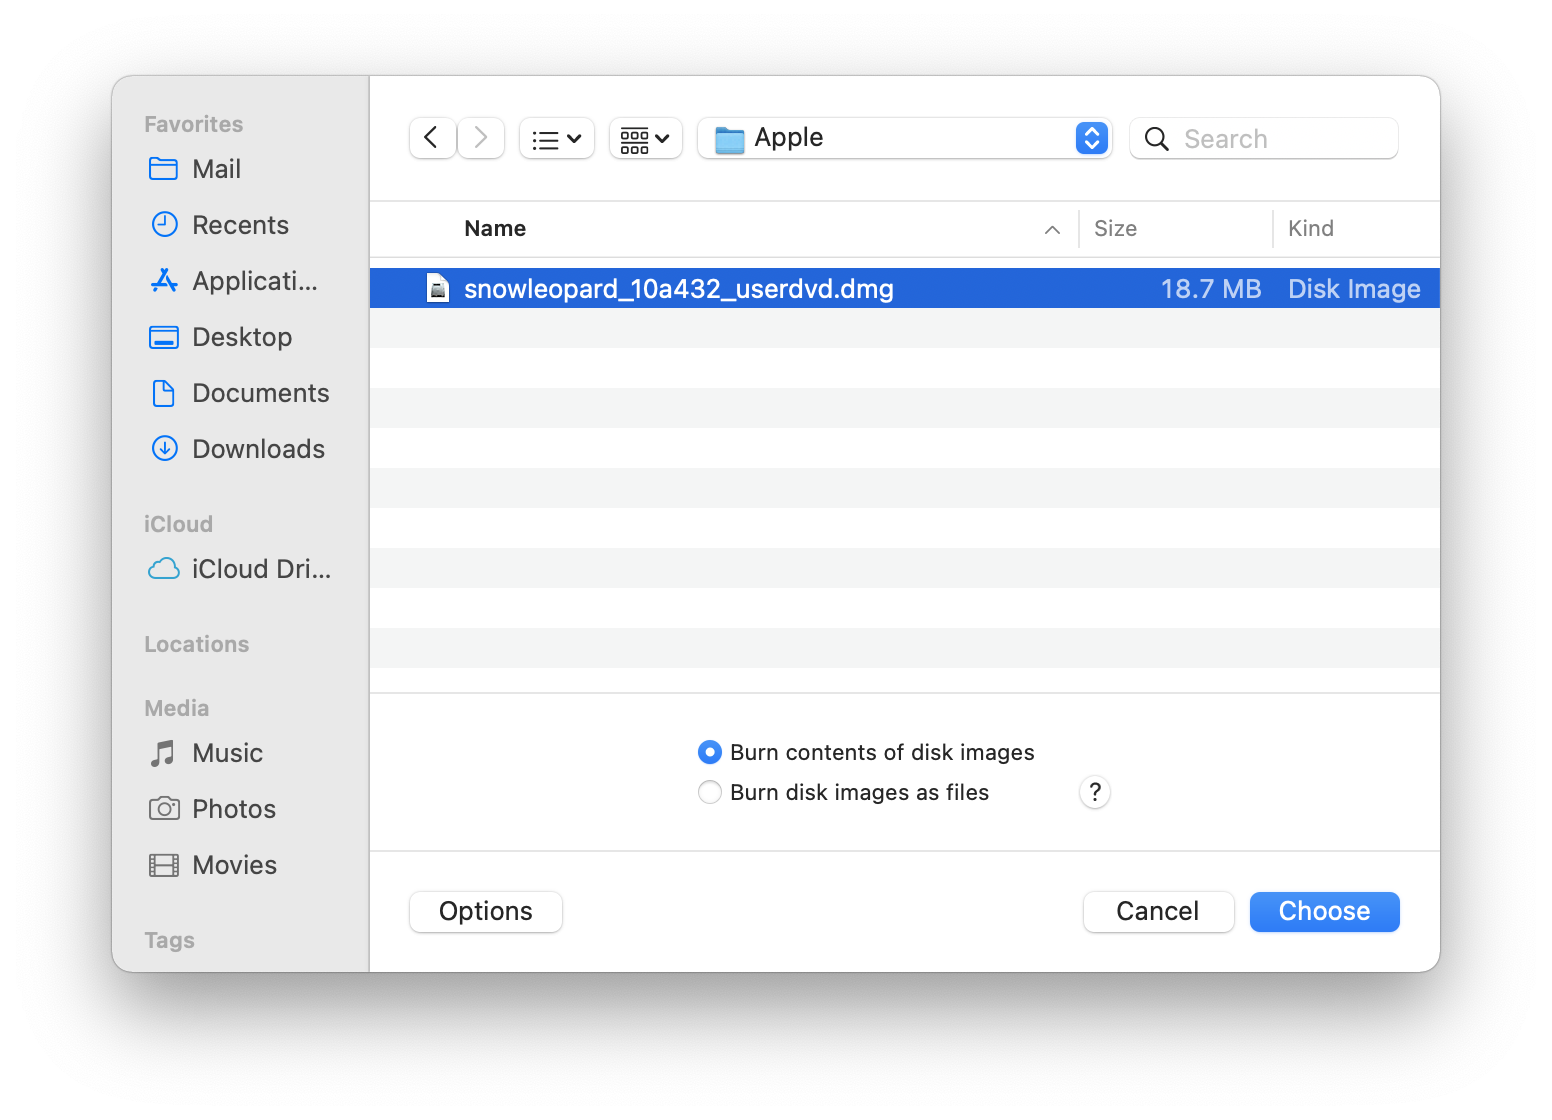
When you choose to burn a disk image file (rather than a regular file or a folder), you have two options:
- Burn contents of disk images
This makes the contents of the burned disc look like the contents of the disk image. The volume name of the mounted disk image becomes the name of the disc. If the disk image is a device image that contains multiple partitions, then the burned disc will have multiple partitions. This is useful when:
- You want the burned disc to contain the contents of the disk image, not the disk image file itself. The contents of the burned disc will not be compressed or encrypted.
- The disk image is segmented, and you want to join the segments and burn them onto a single disc.
- Burn disk images as files
This burns a disc whose content is the single disk image file. The name of the disc is the file’s name, without the extension. This is useful when:
- You want the burned disc to contain a single file, the disk image. If the disk image file was compressed or encrypted, so will be the burned file.
- The disk image is segmented, and you want to burn each segment to a different disc.

Keyboard Shortcuts
As a shortcut to choosing Burn… from the File menu, you can hold down the Shift key while dragging and dropping a folder onto the DropDMG window or DropDMG’s Dock icon. If you want to burn an disk images as files, hold down the Shift and Option keys.
Command-line
You can also initiate burns from Terminal:
dropdmg --burn-image ~/Desktop/Image.dmg
dropdmg --burn-file ~/Desktop/Folder
Appending to CDs
When burning a CD, check the Leave disc appendable box after inserting the blank disc. DropDMG will leave the disc “open” after burning so that you can burn additional files to the same disc under a new session, space permitting.
Custom Disc Icons
To burn a disc with a custom volume icon, see Burning a CD or DVD-ROM With a Custom Icon.
USB Flash Drives
To “burn” a disk image to a USB flash drive or USB stick, you can use the Restore feature in Disk Utility, as described in Restoring Files and Disks.